Gemstone and Chain Mail Bracelets

I’ve been working on expanding my chain mail repertoire lately: I’m learning some new patterns, but I’m also experimenting with ways to make old classic weaves a bit more interesting.

I love working with gemstones, so most of my new chain mail pieces feature them. Here’s a selection of bracelets I’ve made recently:

Blue Quartz-Embellish Helm Chain

Copper helm chain studded with blue quartz

IMG_1198

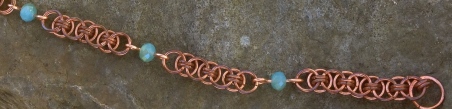
I made this bracelet while sitting behind the table at the Time Traveller’s Bazaar. I didn’t have enough rings to make a bracelet-length chain, so I lengthened it with a few blue quartz bead links. The copper and the pale blue stones make a fantastic colour combination, and as the copper ages, the stones are going to stand out even more. Quite the happy accident, methinks!


Copper and Carnelian Sigil Chain

IMG_1187 IMG_1188 IMG_1194


This chain weave has a wire running down the middle, which the luscious carnelian beads are strung on. I built the chain around the wire, stringing the beads as I went. I’ve honestly gone a bit crazy with the Sigil chain: as the pictures below demonstrate, you can make so many different designs with it!


More Sigil Chains

IMG_1195 IMG_1192

An elegant, icy silver and blue quartz bracelet


100_0845

Copper with two colours of Swarovski crystal. This bracelet is smaller than the others: Sigil chain is great for experimenting with sizes!


100_0832

Aluminum with garnet-toned crystals. I could see a wizard in a fantasy world wearing this…


European 4-in-1 Wing Pattern 

IMG_1158

IMG_1159

IMG_1164


This might be the most delicate-looking piece of chain mail I’ve ever made, and the rings are the smallest size I’ve ever used. It reminds me of what the Elves in Lord of the Rings wear: there’s something about that combination of leaf-like silver pennants and subtle gold crystals that has “Galadriel” and “Lothlórien” written all over it…


Helm Chain Bracelet with a Black Onyx Focal Bead

IMG_1199

IMG_1200

IMG_1201


This is another chain that I was originally going to leave unbeaded, but this time, it turned out a little too plain at first. Luckily, I had a lovely black onyx bead on hand! Colour combinations don’t get more classic and elegant than black and silver, if you ask me.


As always, more chain mail will come soon. And as always, don’t be afraid to ask any questions or make any requests!


Caps

I’m not really sure what type of cap this is, I’ve heard this style of cap called a clerk’s cap, mechanic’s cap, wheel cap, forage cap. workman’s cap, and the list go’s on. I just call it a cap. I’ve made quite a few of these caps for an upcoming costume market called the Time Travelers’ Bazaar. I really like this style of cap. I’ve seen it in many movies and old photos.

Here I’m holding a grey tweed cap with cloth brim. This is my favourite cap.

Below are some more of my favourite caps I made.

Loose woven blue woollen cap.
I like how the loose weave allows the cap to flop to one side.
Grey tweed cap.
Light brown tweed cap.
I just sold this cap yesterday.

Fountain Pens

A couple of years ago, I found an old fountain pen in a drawer somewhere in my house, and after seeing it turn my chicken-scratch handwriting into what looked like the notes that some Victorian scholar would put in his notebook, I decided that fountain pens were my writing utensil of choice from then onward.

Since then, I have developed a light obsession with these beautiful writing instruments, and have started collecting them.

I made this pen last year in woodwork after a very long series of experiments to try and turn the wooden tubes as thinly as physically possible in order to fit the rest of the pen kit. They all failed in the most spectacular fashion, mostly with the blanks either blowing up in my face, being the wrong size, being ever so slightly off-centre, etc. So I gave up on that and went and bought a pen mandrel, and this is the result of my first use of said mandrel.

I used a padauk pen blank finished with a couple of coats of lacquer. The fabrication of the pen took a surprisingly short amount of time, and I was exceedingly pleased with the results; In fact, this was probably my favourite project from last year.

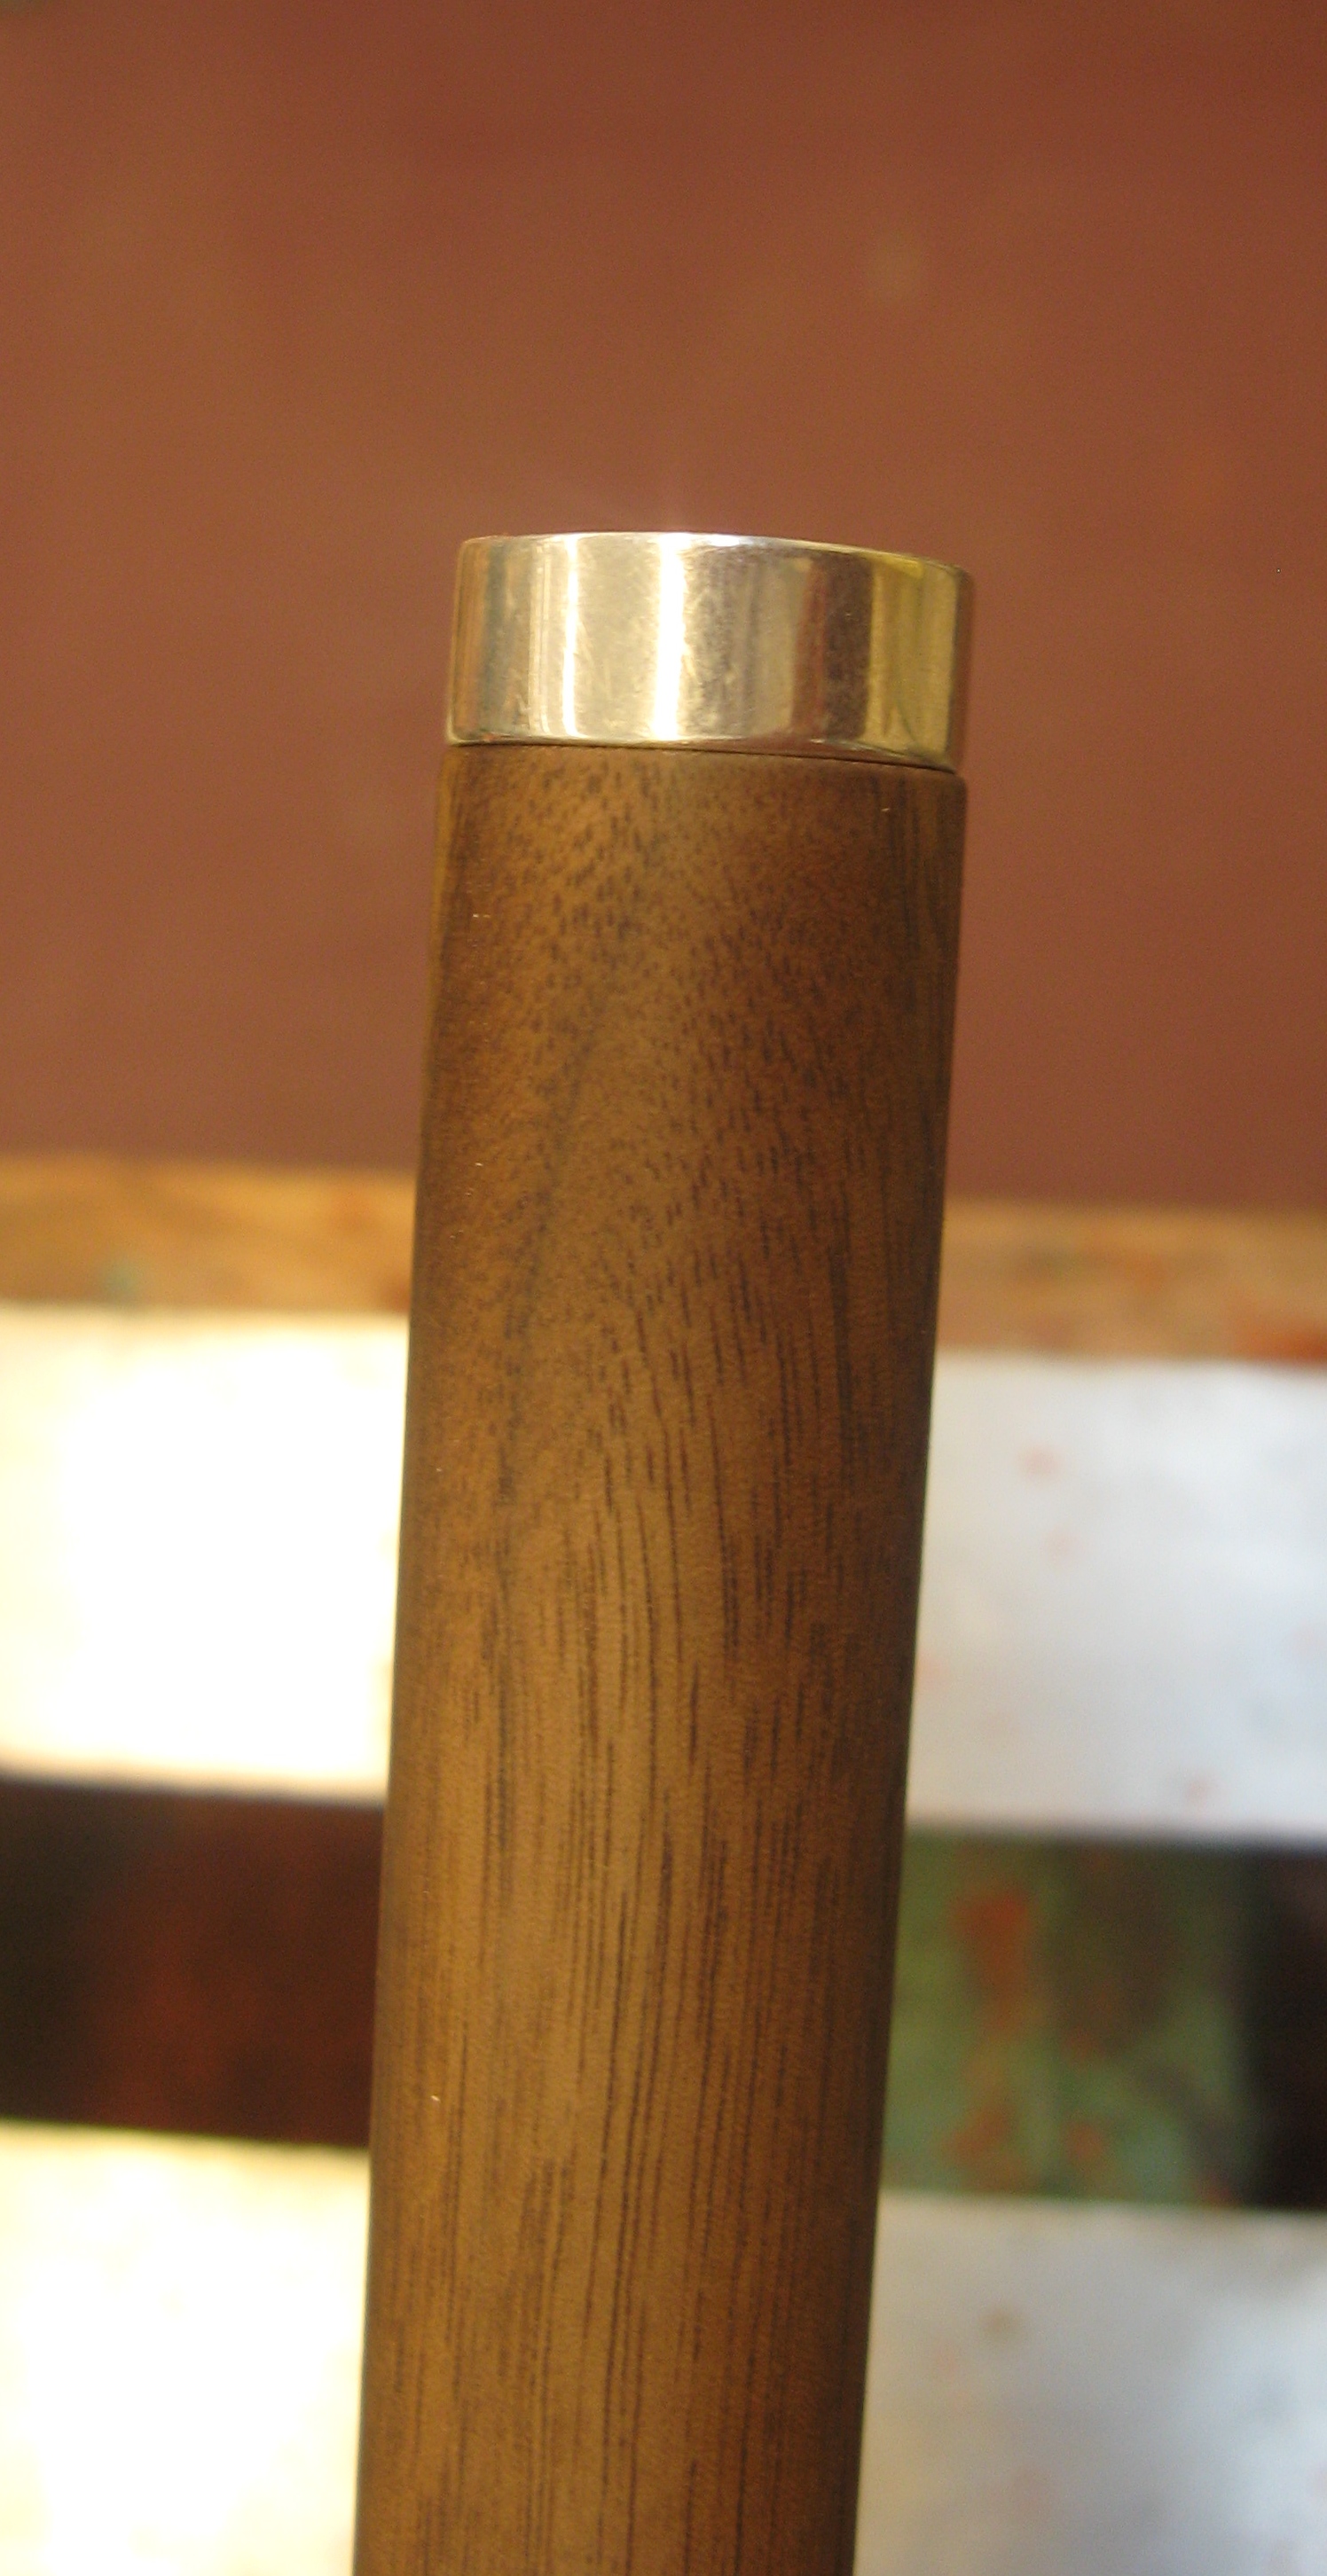
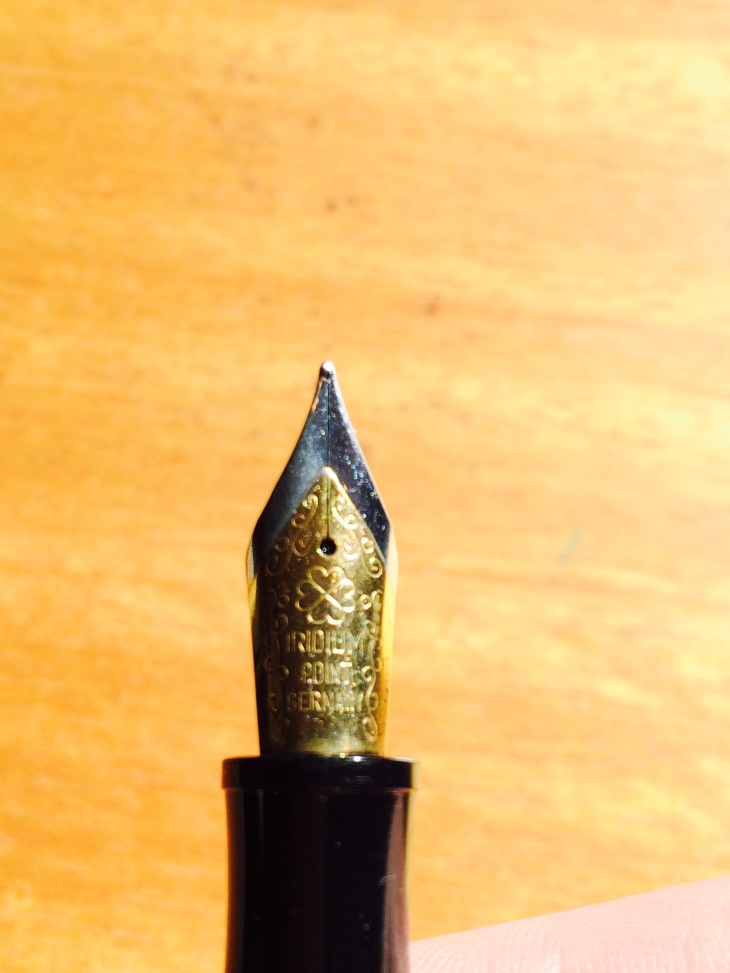
I was so happy with this pen that I saw no reason in the world why I shouldn’t make another one.

Fast forward a year or so, and I did.

This one was made as a retirement gift for my boss, and based on how well it turned out, I have to say I envy him.

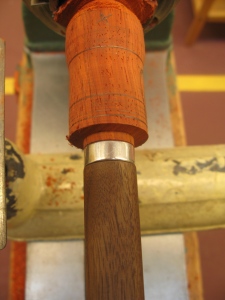
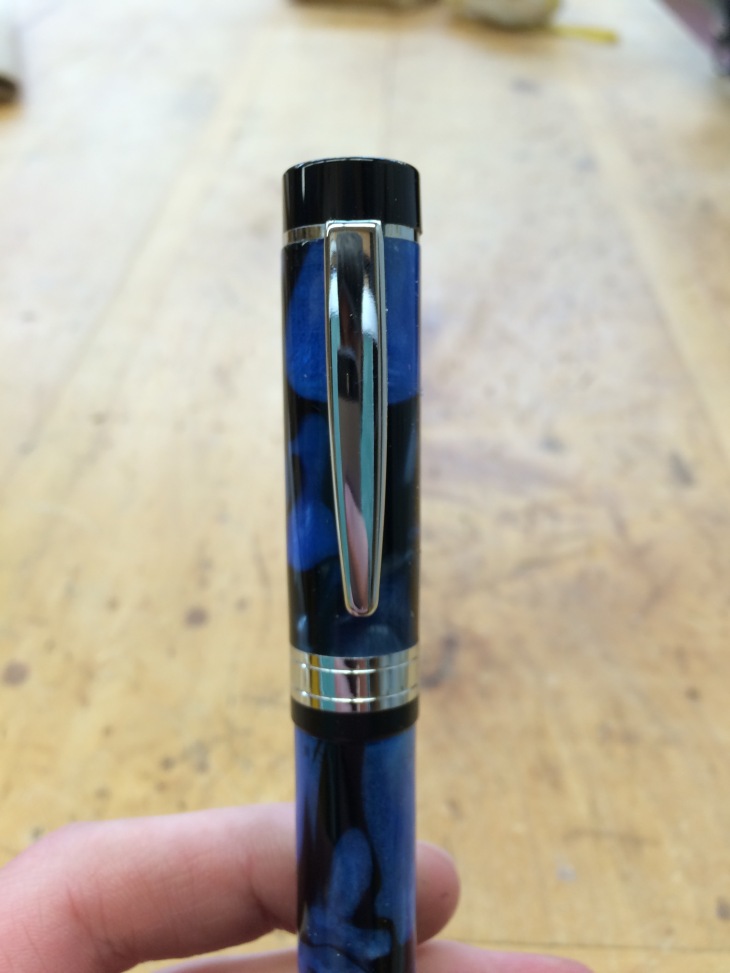
I made this one with an acrylic acetate blank sanded with 12,000 grit sandpaper. It took about an hour in total to make, and smelled like a burning plastic factory the entire time.
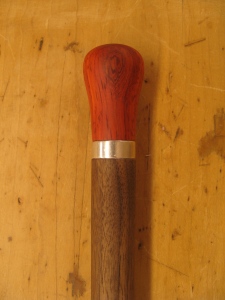
Even through a respirator it smelled awful, but in spite of that I wouldn’t hesitate to make another one like this because acrylic is just so beautiful.

I must write. I must make more. My collection must expand.

-Ben

William Hartnell Portrait

I’m quite the Whooligan, and I’m still refining my carving skills, so I decided to combine the two by carving the Doctor! I used basswood this time, and it was an incredible improvement on the cedar I used with my Leonardo portrait; there was hardly any splintering, and the wood’s soft, straight grain allowed for almost effortless cuts. Who’s next in line to be carved, I wonder?

Ben

Maple and Walnut Composite Wand

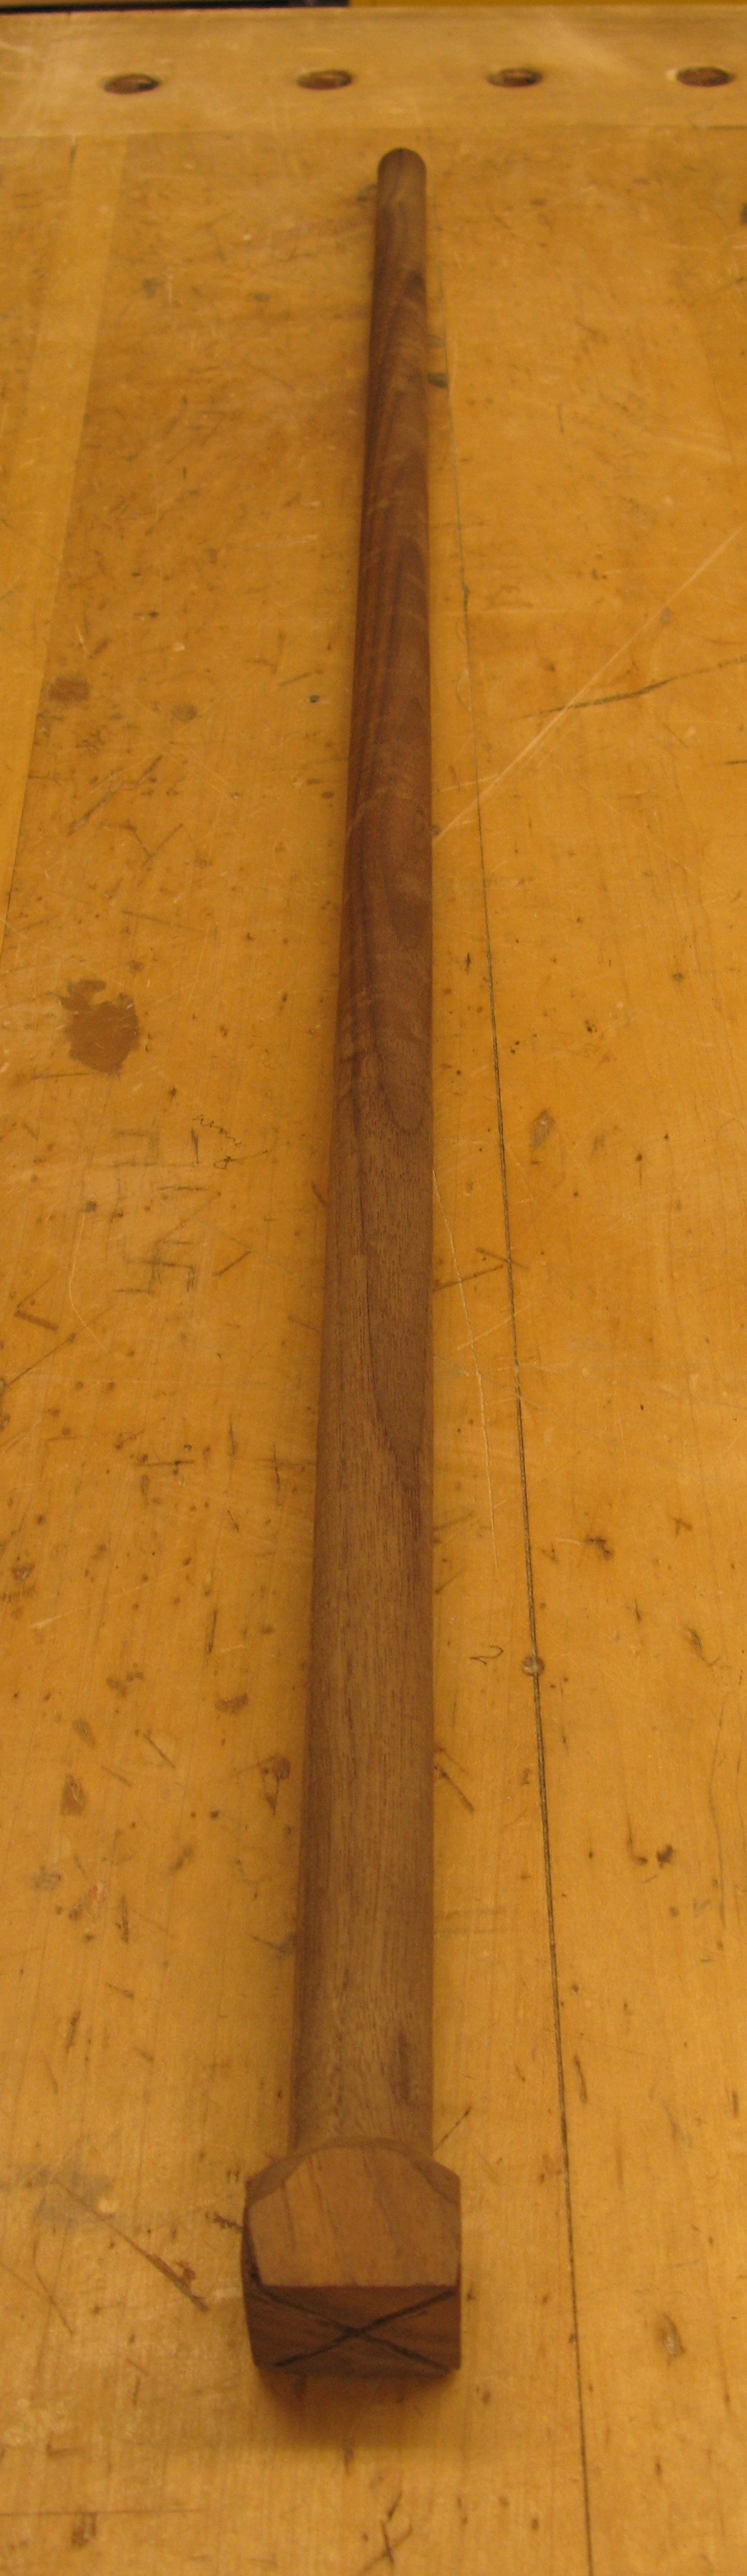
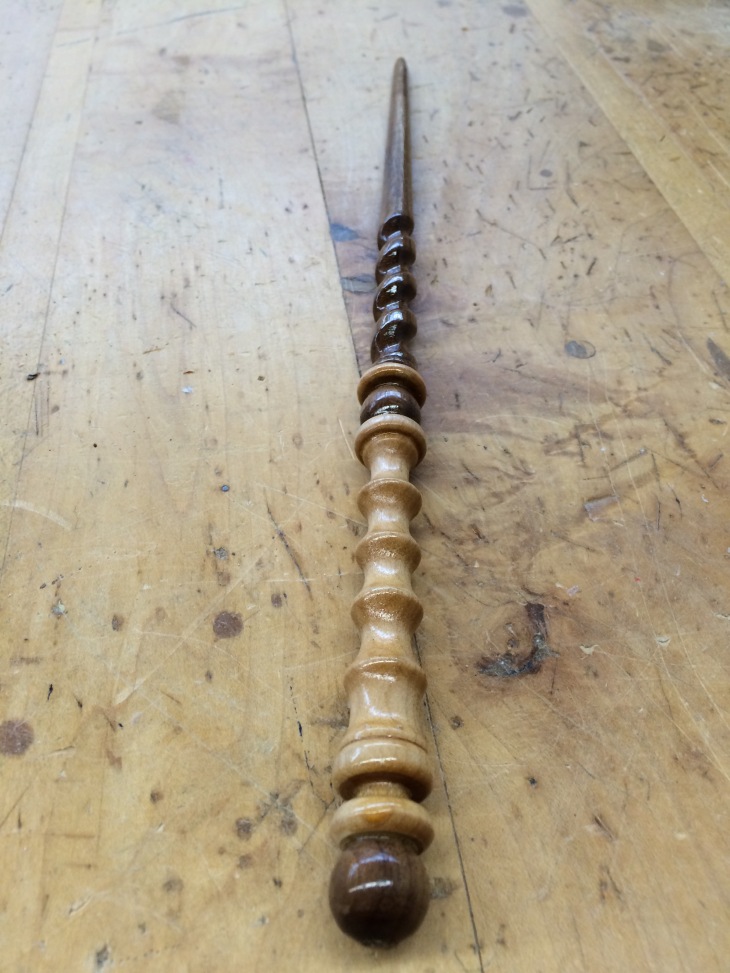
My first composite wand! I based the design largely on my previous purpleheart wand, just to see what it would look like in maple and walnut. 
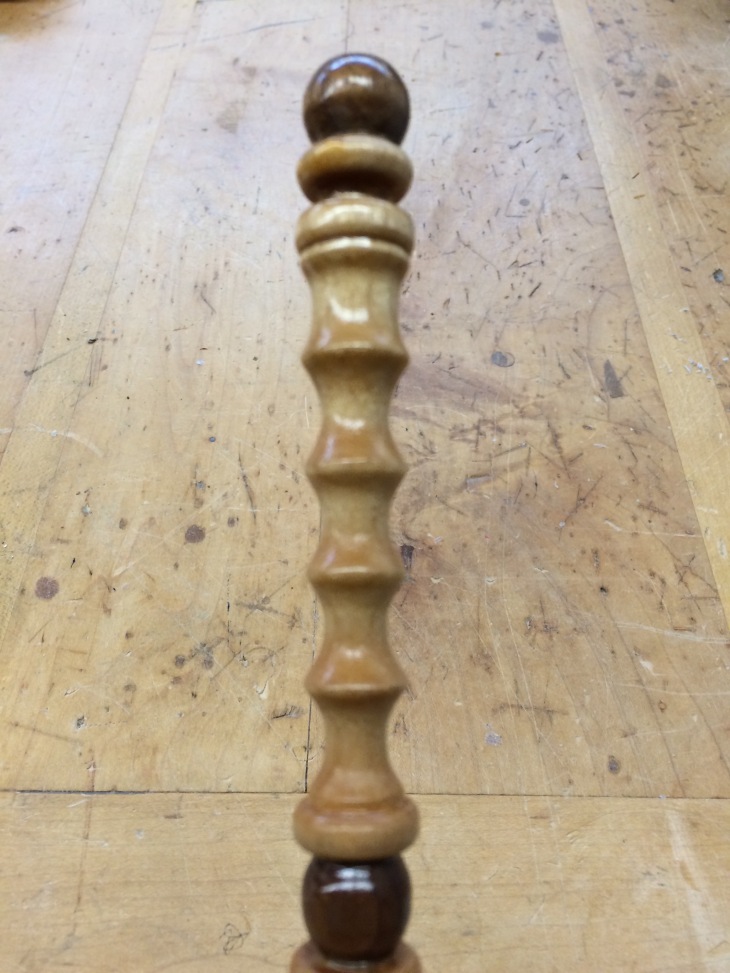
I was exceedingly pleased with my first attempt, however the pieces were glued together in such a way to make the wand considerably flimsier than I anticipated. 
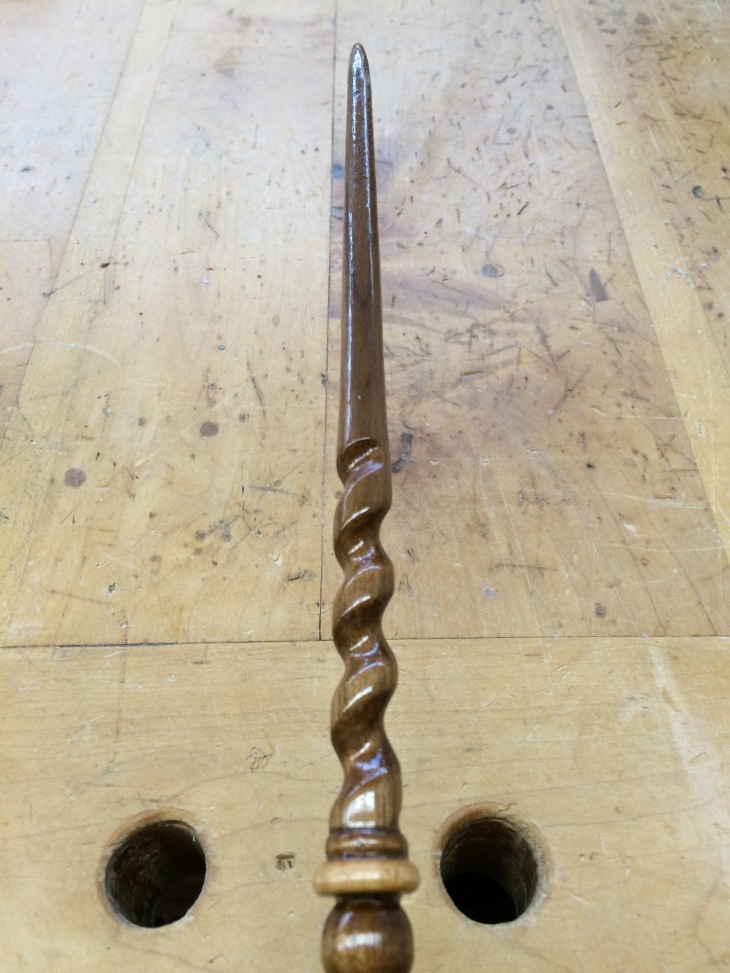
I think I’ll hang on to this wand and put it in my collection rather than selling it; the risk of it breaking from enthusiastic spell-casting is too high. –Ben

Nesting heart bowls

My most recent commission was a set of three nesting heart bowls for a couple of my mentors. I first threw three bowls of different sizes using pre-measured amounts of clay. I used 1lb for the smallest, 1-1/2 for the medium sized bowl, and 2lb for the largest. After letting them dry for a short period of time I shaped them into hearts. I then trimmed off the excess clay, put a foot on the bottom, did some finishing touches, fired, glazed, and fired them again. I used glaze #902 for a base and then a different glaze on the rims of each bowl to make each of them a little more individual.

IMG_3043

IMG_3049


IMG_3078


–Mikayla

More walking sticks

In the last few weeks I’ve made two more walking sticks, as well as finished my first one.

To finish the first walking stick, I gave it a couple coats of shellac, waited for it to dry, then glued on the handle.

I made the second walking stick by turning a walnut shaft on the lathe like the first one. I then filed a twist/spiral in to the shaft. I decided to ebonize this walking stick. Ebonizing is a way to blacken wood using iron acetate. The iron acetate turns the wood black by reacting to the tannin in the wood. I gave it a couple coats of shellac. This gave me a nice glossy black. Then I added a silver cap to the top of the walking stick.

I’ve used a different approach to make the third walking stick. First, I cut out the the L-shaped handle and the shaft. I then drilled a hole in the top end of the shaft, and the bottom of the handle. I used epoxy to fix a threaded rod into the hole, connecting the handle and shaft together. After the epoxy set, I sanded the joint between the handle and shaft flush. I used a spoke shave and files to shape the walking stick. I then sanded it smooth. I still need to give it a coat of shellac.

All the walking sticks still need a brass ferrule fitted on to the end, but for now they’re done.

I am so pleased with how these walking sticks turned out.

 –Parker

Leonardo in Cedar

My first portrait, carved on a piece of 8×10″ piece of cedar I found at work. Cedar was easy to carve; its soft straight grain allowed almost effortless cuts… Provided that said cuts didn’t go across the grain, under which circumstances it was prone to chipping. I hope at some point to acquire some basswood, which I’ve heard is optimal for carving, so I may make some more carvings of great historic and literary figures. Any suggestions for who I should carve next?

–Ben

Making a walking stick

In wood shop I’m making myself a walking stick as part of my most recent outfit. The walking stick will have a walnut shaft with a padauk handle and a silver ring around the joint between the shaft and handle.

I began by making the shaft. Used the bandsaw to cut my walnut blank to size. The blank was mounted on the lathe and turned down to about an inch then I tapered one end to 5/8 of an inch. I sanded the shaft smooth and applied a finish of oil and bees wax. Then I turned a small shelf for the silver ring to sit on. I got a nice tight fit. I then drilled a hole in the top end of the shaft to accept the corresponding tenon from the handle.

IMG_3234

walking stick shaft


Then I turned a small shelf for the silver ring to sit on. I got a nice tight fit. I then drilled a hole in the top end of the shaft to accept the corresponding tenon from the handle.

IMG_3272

Notice the small shelf at top


IMG_3273

The ring has a nice tight fit


For the handle I started by turning the tenon, then I made another small shelf like the one on the shaft. The two shelves will hold the ring in place. I finished shaping the handle and applied oil and bees wax to bring out the colour.

IMG_3270

Here’s the tenon and the two shelves


IMG_3274

The two shelves hold the ring in place


Here’s the almost finished stick I still need to make a some more pieces of hardware. I would also like to give it a few coats of lacquer or clear shellac. I would like it if the padauk handle was darker than it is so I will see if I can make it darker.

IMG_3277

Here’s the nearly finished walking stick


–Parker


Copper Crown

I’m currently making a copper crown for myself in metalwork. It will make a great piece for an outfit when it’s done.  I’m making it out of sheet copper. I started by making a repeating template on paper then transferred it to the copper with sharpie. I then cut it out with tinsnips and filed the edge smooth. I folded the bottom edge over with the bender so I would have a rounded edge.

IMG_3254

It’s always a good idea to do a test piece first.

IMG_3261

my test piece.

–Parker